What is exclusively pumping?
Let me preface this post by saying that I am not a medical professional specifically trained in lactation or an IBCLC (international Board Certified Lactation Consultant). However, I have had two consecutive, very successful exclusively pumping journeys. I wish I would have stumbled across something like this when I was first starting. Exclusively pumping (EP) entails pumping breast milk and feeding it to your little one through a bottle. Exclusively pumping does away with nursing/latching all together. For me, it was the best decision I made in our feeding journeys.
I think a successful journey is one where all of your goals are met. My goals were to be able to feed my kiddos only fresh breast milk (in addition to solids, but when I say only I mean no formula) until their first birthday and be able to stash enough ounces in the freezer to give them until their second birthday. I accomplished this with both of mine, all without mastitis and only a handful of clogged ducts.
Let me be very clear, this guide should NOT be your only researched source for information about exclusively pumping. These are just the things I found success with. This list is not entirely comprehensive but the things that helped me be the most successful. Every pump, flange setup, and accessory listed in this guide I have personally used. The greatest resource I found was hiring the most amazing IBCLC I could have found. Jessica Anderson with Genuine Lactation saved my journey from the start with my first. I did a lot of things wrong with my first journey and she was able to correct those things and help me achieve all of my feeding goals. You absolutely need an IBCLC in your corner that specializes in pumping.
Exclusively pumping is a 24-hour commitment for however long you plan to provide breast milk to your child. To protect your supply, you must remove milk efficiently and frequently, often every 2 to 3 hours for at least the first 12 weeks and no less than every 3 to 4 hours for the remainder of your pumping journey. It is not for the faint of heart. You can expect to get up at least once in the middle of the night to pump for at least 6 to 8 months. This specific pump is referred to as the MOTN (middle of the night pump). Usually done between 2 and 5 AM when prolactin is at its highest. The sleep deprivation that comes with getting up every night is no joke, but realizing that your body can provide the best nutrition for your child is 100% worth it. There are many ways to successfully exclusively pump and there are even more ways to do it wrong. This guide is not an all-encompassing list of how to EP but a collection of things that made my journeys successful and something I wish I had when I was first getting started.
My reason for exclusively pumping
My first breastfeeding journey started out as naive as a baby in the woods. I initially thought I would nurse when I was with my baby and pump with the Willow 3.0 while at work. Since I am a chiropractor, I figured I could pump while I was adjusting patients and this pump is the only spillproof pump on the market. My game plan was designed to fail from the start. After discovering that MJ had several oral ties, latching became an overwhelmingly difficult task. I started using my Willow pump, with a flange size that was entirely too big to pump out colostrum after latching attempts. What I didn't know is that pumps like this are not recommended for use so early post-partum and using a size that was too large was inherently setting me up for tissue damage. After beginning to exclusively pump on day 4 with an appropriate pump and the correct size, my outlook on feeding improved significantly. For my second kiddo, Mack, I knew I was going to EP from the start and it made things a whole lot easier. In this guide, I'll spell out all the things I wish I had known before beginning to EP.
First things first
Figuring out your flange size. If you're unsure of your flange size or if someone has told you your size was 24 or 28 mm, you need to get a second opinion. The first thing you need to do is get professionally measured. I always advise hiring someone who specializes in sizing to measure you. There are a lot of ways to DIY your flange sizing out there but personally, there's nothing like knowing your size is correct. If you can't find someone you trust to measure or can't afford it, this is the only way I recommend measuring. If you want professional sizing from the start, visit Genuine Lactation.
Your flange size can change several times throughout your pumping journey. Please be aware that regular sizing checks are needed for the most optimal, comfortable fit.
Choosing Flanges

Once you have a good handle on your size it's time to determine what flanges you want to use. There are generally 3 solid options for flange type.
- Plastic flanges (usually 1 to 2 mm bigger than your measured size)
- Plastic flanges with silicone inserts (usually 0 to 2 mm bigger than your measured size)
- Silicone flanges (usually 0 to 2 mm bigger than your measured size)
My favorite setup has always been a full silicone flange. Pumpables liquid kit, Pumpin Pal's flange, and Lacteck are ones that I have had success with in the past. There are several options for plastic flanges, depending on the shape. A list of these can be found here. If you're going to use inserts, you have a couple of options. There's a kit available with multiple sizes that's a good investment, however, I've always liked Willow and Legendairy Milk inserts. A list of the parts needed to use Pumpin Pal's and Lacteck flanges can be found here.
No matter which type of flange you decide on using, make sure you're using the correct size and have a good bra fit. This will optimize your output and reduce your chances of tissue damage.
Note: Please follow all manufacturer's instructions for cleaning and sanitizing, as well as set up. These flange setups need to be a closed system so make sure you're using some type of backflow protector to reduce the chances of getting milk into your tubing. The silicone parts of the flanges will need to be regularly replaced, generally every 4 to 6 weeks as a general rule.
Choosing a pump
For most people, traditional insurance will cover all or part of a pump. In my situation, they did not. So trust me when I say that I truly recommend these products because I have purchased every single one of them out of pocket. For exclusively pumping, you'll want a strong primary pump. These are sometimes referred to as wall pumps because in the past, they were required to be plugged into the wall. As technology has improved, a lot of the really good pumps have rechargeable batteries that make them a lot less cumbersome. Another option for a primary pump is a strong portable pump. With these pumps, flange sizing and bra fit must be correctly dialed in to maximize output and reduce the risk of tissue damage. Regardless of what pump you choose, the most important thing is to find the settings that work best for you.
There are a lot of options for primary "wall" pumps. Spectra is always the gold standard and one of the most preferred pumps on the market. It provides vibration and long pulls that a lot of moms respond to. If you're able to, choose the blue spectra, the S1 for its rechargeable battery. This allows moms to be a bit more mobile.
I personally loved the Pumpables Super Genie, however, their suction pattern can be a bit staccato-like and sharp. It does provide a similar vibration to the classic Spectra pump. The coolest thing about this pump is the smart pump technology. You can design your programs on the app and start your pump from your phone. You're also able to access other users' programs.
The Unimom Opera is another great choice as it is a double-electric breast pump and can pump each breast independently. Although there is no vibration, this pump provides a gentle suction that a lot of moms appreciate.
For a primary, portable option, my favorite picks are the Pumpables Genie Advanced and the Baby Buddha. Both of these pumps are strong enough to be a primary pump as long as they are used appropriately. Pumpables provides free sizing for their liquid kit and Baby Buddha provides free lactation services to assist in utilizing this pump to its full potential. I am currently using the Pumpables Genie Advanced as my primary pump for my second journey and I used it exclusively for the last 4 months of my first journey.
Picking out a pumping bra
There are so many pumping bras out on the market. The first thing to do is figure out your correct size. Visit boob or bust to determine your size. Once you've figured your out your optimal size, you can choose a bra.
Between my two EP journeys, I've tried a LOT of bras. Like, a lot. The following bras are the ones that have become my favorites!
- Sarah Wells Journey Bra. This is my overall favorite pump bra. It is really great for anyone who has a smaller bust and bigger ribs (or backfat). I've ALWAYS struggled with small boobs and a lot of backfat so bras are usually too tight in the band and way too big in the cups. If this isn't your situation, you may need to size down.
- Kindred Bravely. This one is my favorite for the MOTN pump. Because this one has no clips, it makes it easy to slip in the flanges and pump when you're too tired to think.
- Davin and Adley Amelia. These are really great for the Pumpables Liquid Kit. These are also good to layer under clothing as they can pass as a cute camisole. (Use code Emily10off for a discount)
- Bravado clip-on pump bra. I really like this when I don't want to wear a pumping bra all day. I usually only use this one when I'm at home as clipping it on at work or being out and about is a bit difficult. Not that I haven't done it, it's just not my preferred set up if I'm not home.
Ok! We've got our correct flange size, flange set up, pump, and bra. Now what?
The next thing to do is establish your routine. It needs to be something you can follow every 2 to 3 hours for the foreseeable future. For me, I pumped every 3 hours starting at 6 am. So 6 AM, 9 AM, 12 PM, 3 PM, 6 PM, 9 PM, and 12 AM. I did not follow the baby's cues, I did not pump late, and I did not miss a pump. I pumped every 3 hours starting at 6 am.
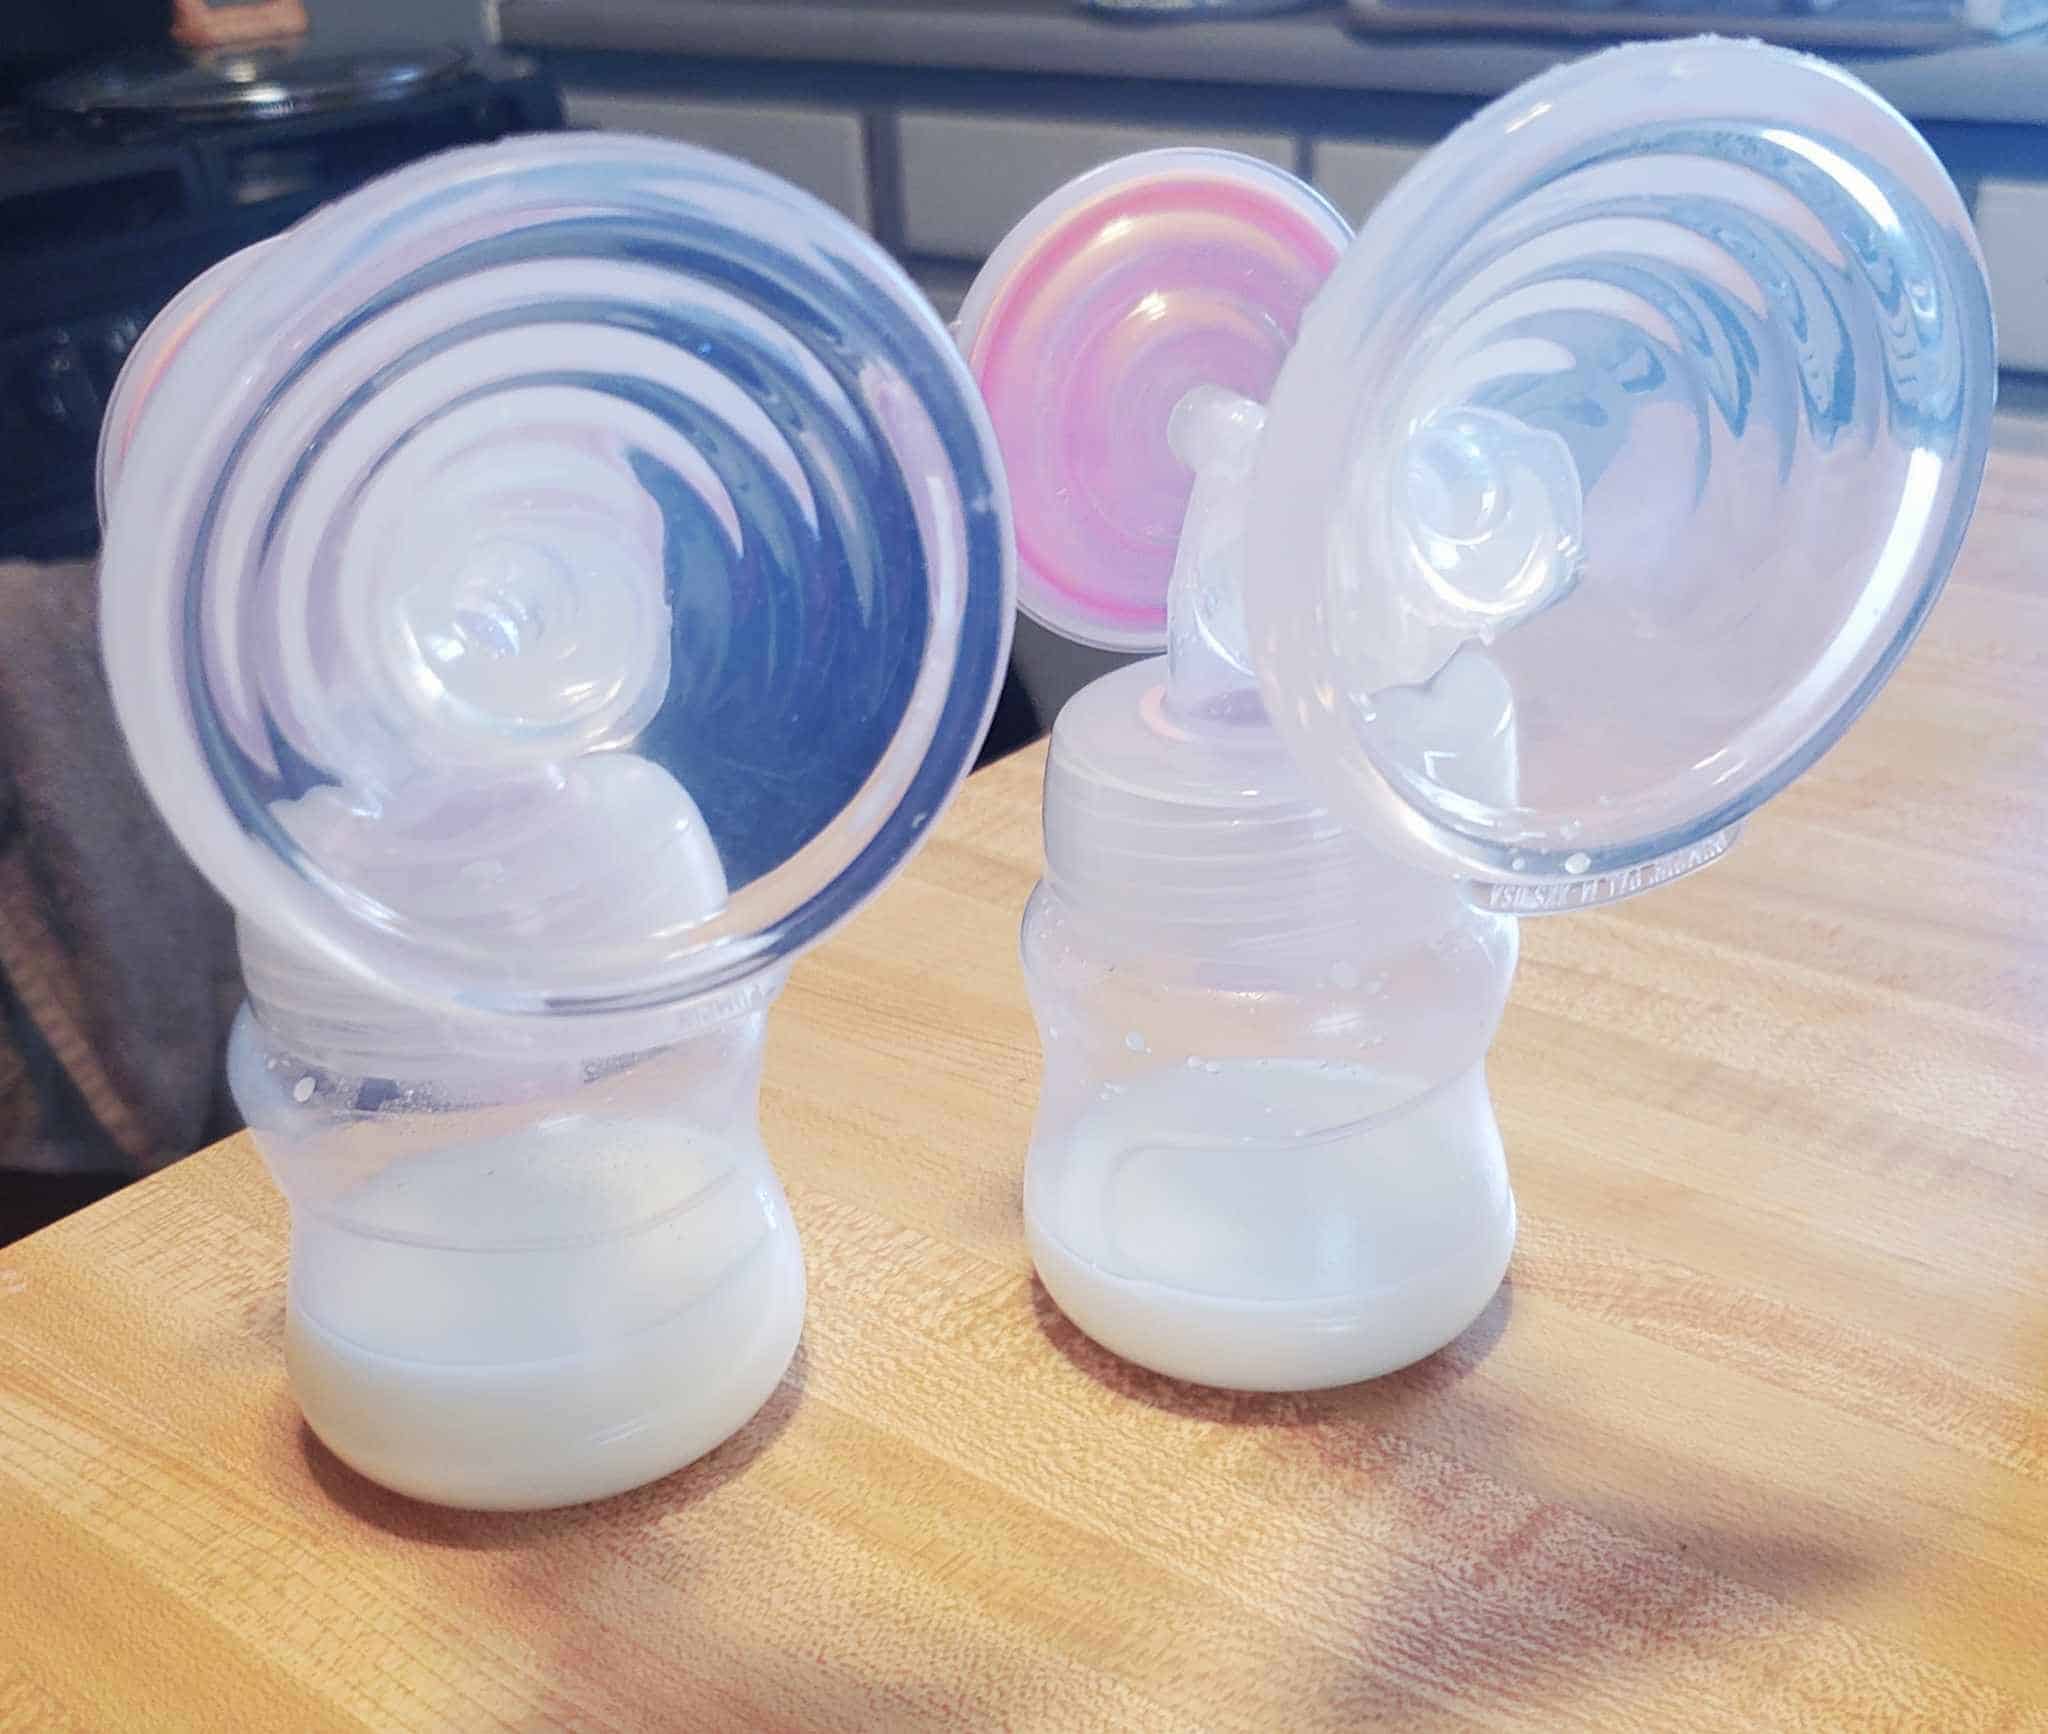
From start to finish, this is what my pump session looked like. Beginning 5 to 10 minutes before pump time I started putting my flanges together. They need to be put together correctly and be completely dry. I put on my pumping bra (if I'm not wearing it already), spray the inside of my flanges with coconut oil or pumping spray, line up my flanges inside of my pumping bra, and get comfortable. We're going to be here a while. Usually a minimum of 30 minutes.
Once I'm seated and ready to go, I'll connect the tubing on my pump to my flanges and get pumping. Depending on the pump you choose, will determine your settings. I can't stress this enough, you HAVE to choose settings that work the best with your body. This can take a lot of experimentation. There are some charts you can find on the internet that tout the best settings; these can be a helpful starting place, but don't get discouraged if they don't work for you. Switching between letdown (massage, stimulation, or bacon mode) and expression modes will help draw multiple letdowns to express milk.
I'm a glutton for punishment when it comes to pump parts. I have multiple sets that help decrease the amount of times I have to wash them throughout the day. I also have bottles I pump into, bottles I use to store milk in the fridge, and bottles I feed from. They're 3 different brands and it makes my life so much easier to keep them separate. BUT, if you're not an anxious mess like me and you feel perfectly comfortable using one type of bottle, go for it.

The most important thing about pumping is making sure you pump until you're empty. This is somewhat of a conundrum as our bodies are constantly making milk and our breasts are never truly empty. However, when you get done pumping, your breasts should feel like your cheek, not your forehead. This usually takes around 30 minutes, however, after your milk supply is regulated, it may take longer. Regulation usually happens around 12 weeks post-partum. Keep switching back and forth between letdown and expression mode to pull out as much milk as possible.
Storage guidelines
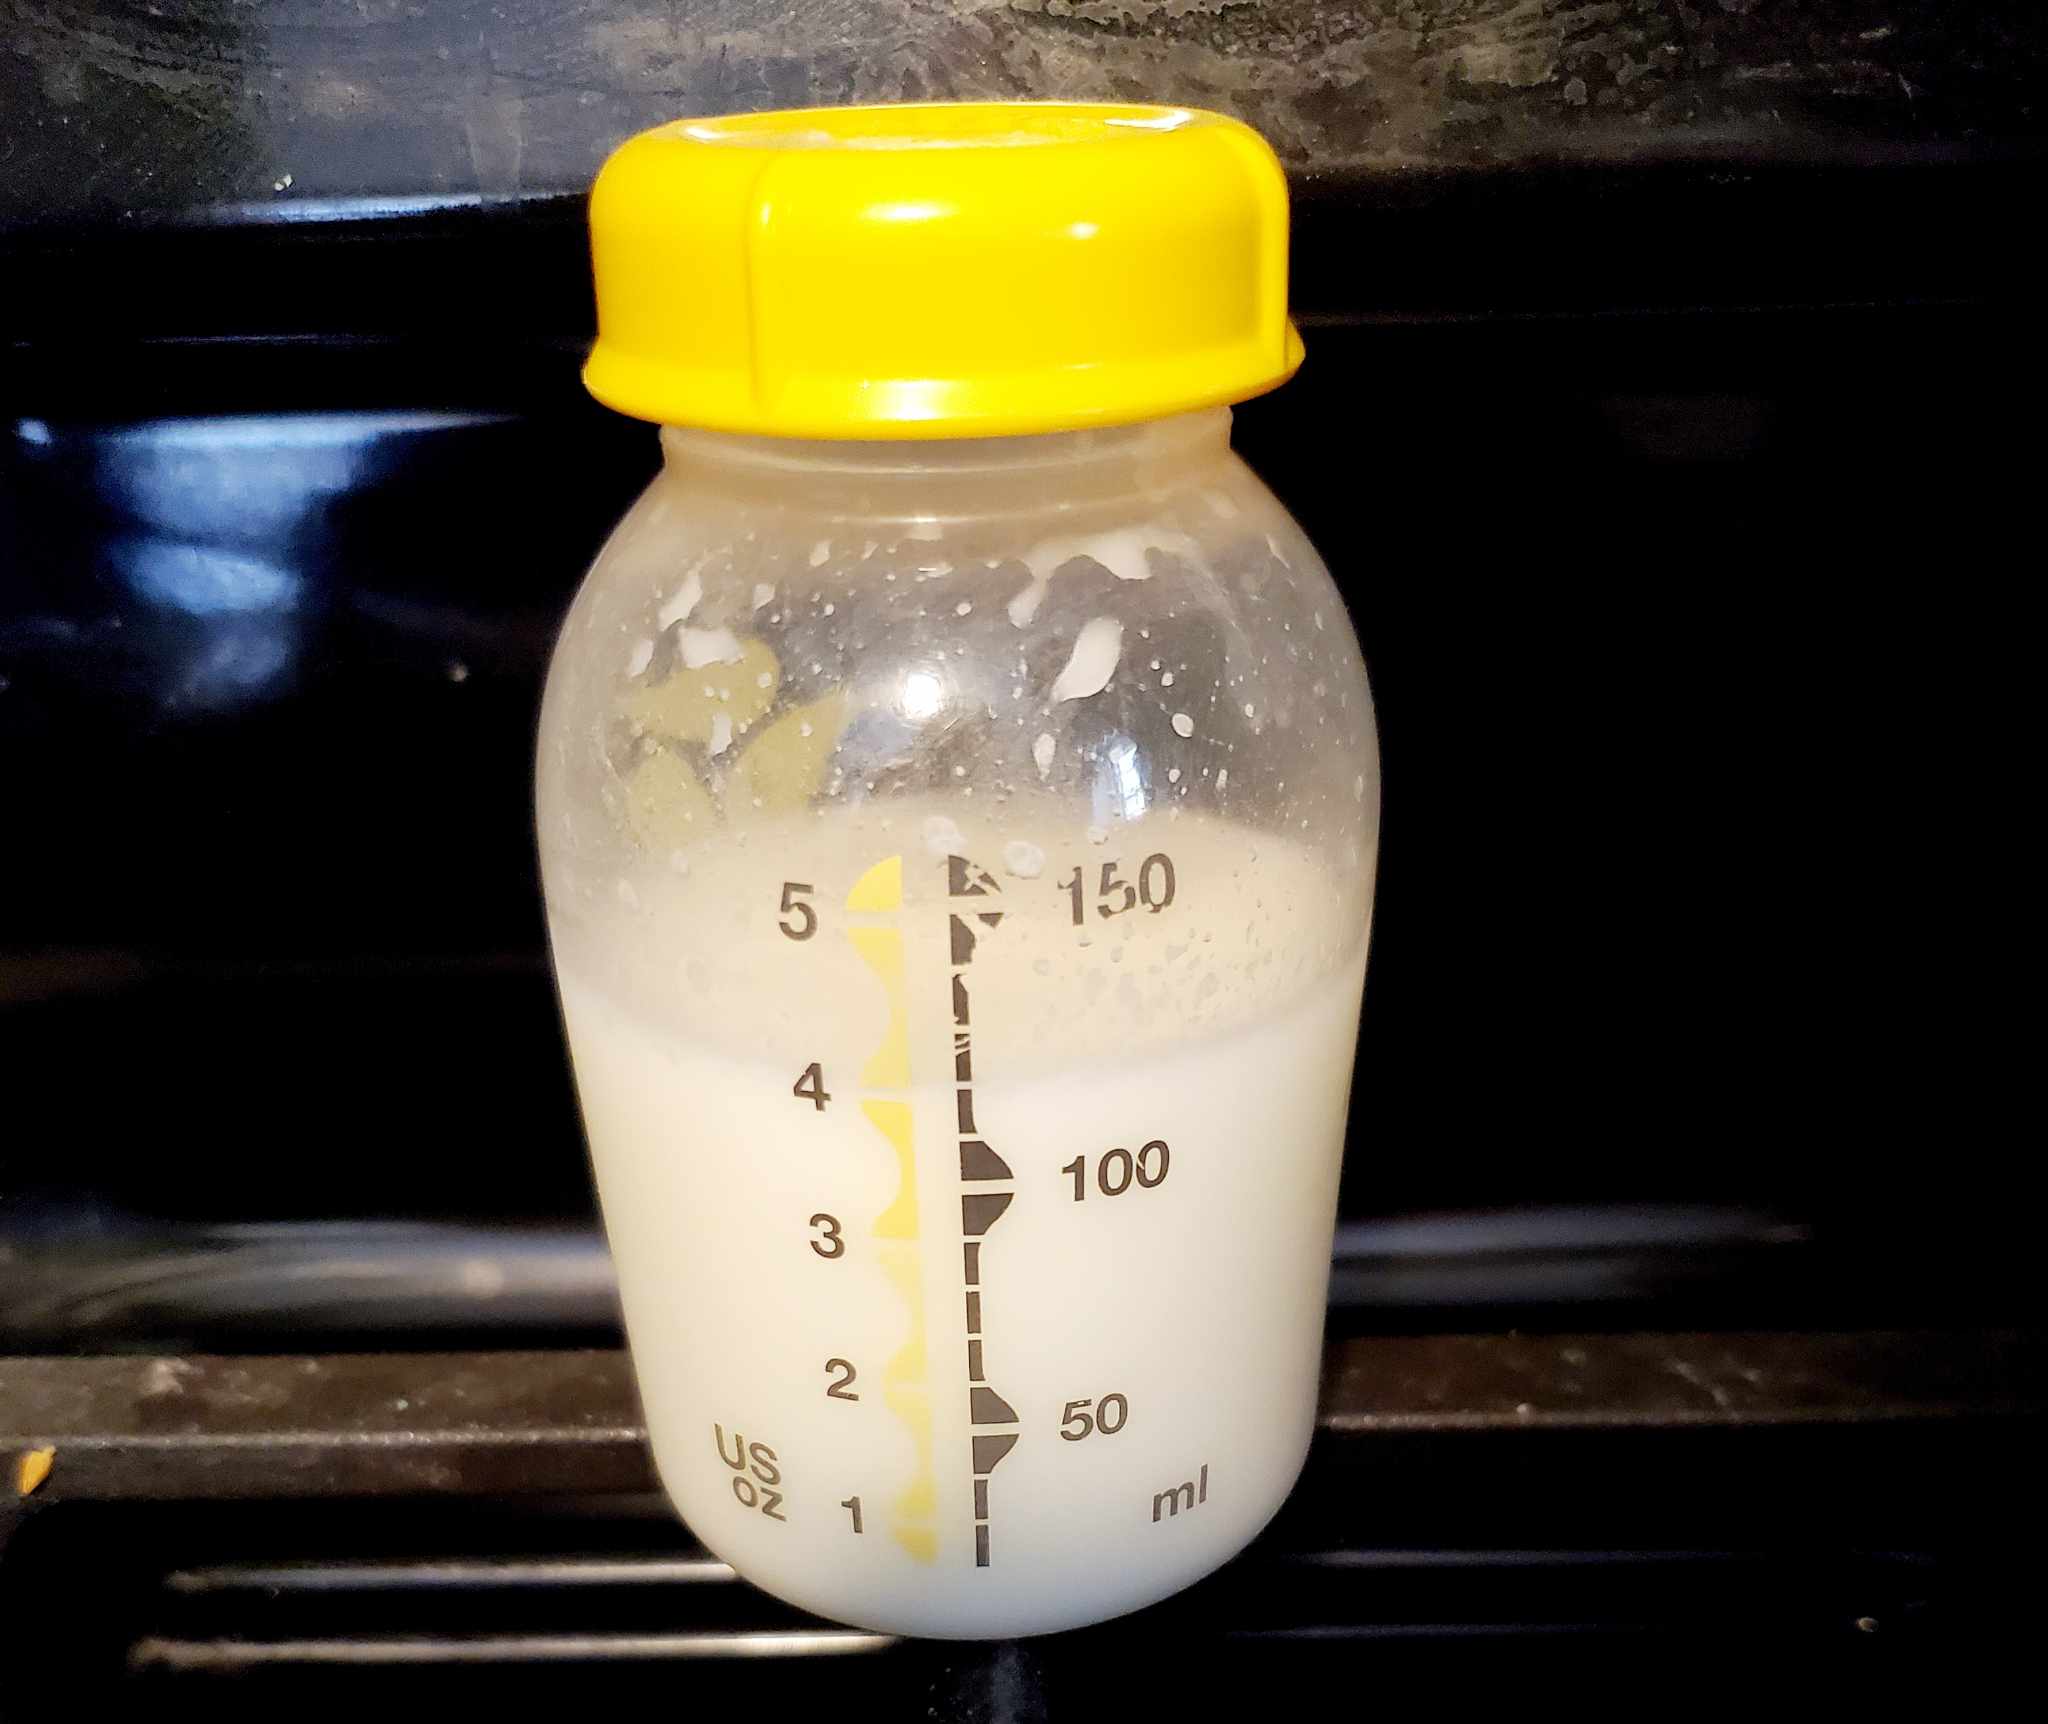
Once you're done pumping, store your milk in the fridge or at room temperature for up to 4 hours. Milk in the fridge is good for 4 days, after 4 days, it must be frozen or used before the 4-day window. Check out our helpful guide for freezing milk here.
If you want an easier way to store milk, try the pitcher method. This method includes pouring all of your pumped milk from a 24 hour period into a pitcher, preparing bottles for the next day, and freezing the excess. Here's what it looks like for me. Starting with my midnight pump on Sunday night through my last pump on Sunday night at 9 pm, I will pump my midnight bottle and put it in the fridge. At my 3 AM pump, I'll pour the cooled milk from the midnight pump into my pitcher. I'll put the bottle of the 3 AM pumped milk into the fridge to cool. At my 6 AM pump, I'll pour the cooled 3 AM milk into the pitcher and put the bottle of 6 AM milk into the fridge to cool. I continue this throughout the day until my 9 PM pump. When I get done with my 9 PM pump, I'll pour it into the pitcher. NOTE: It is advised to cool all milk before pouring it into a pitcher. I do this, except for the last pump of the day because there's so much more cooled milk than freshly pumped. Once all of my milk is combined, I'll pour bottles for Monday for my kiddo and freeze the excess.
You've met your pumping goal. What's next?
Once you decide that your pumping journey is over, it is time to start weaning. Let me tell you that even though you think you're done, if you're 100% sure you're ready to wean, it's such an emotional rollercoaster. The first time I weaned I had met my freezer goal and had fed MJ fresh milk for 365 days. I was ready, I couldn't wait to wean. And then I started dropping pumps and saw the ounces go down. Logistically I know that this had to happen for me to be done pumping, but I was not prepared for the feelings of sadness and panic when I wasn't freezing extra ounces, then when I wasn't making enough to feed him fresh, then when I was done completely. I was both elated and heartbroken. The time I was able to devote back to my family was so worth being done, but pumping had been a part of my life for such a long time that it was a very big adjustment to get used to.
Final thoughts
Exclusively pumping is an extremely difficult thing to accomplish and it requires a lot of dedication, sleep deprivation, frustration, and time. It has been one of the hardest things I've ever completed, but I am so proud of myself for reaching my goals. If you're just getting started, please know that it does get easier. What helped me the most was the support of my husband, Michael. For the first few months, he got up and fed the baby while I pumped so I didn't have to do it all. During my second journey, he honestly washed more pump parts than I did. He was always there for me and provided anything and everything I needed for my journeys. He bought multiple pumps, bras, and extra pump parts to make it a bit easier.
I hope this guide is helpful for you in getting started with exclusively pumping. For me, all of the sleepless nights, hard work, and time investments were 100% worth it. You CAN do it. You have the God-given strength, all you have to do is find it.


Leave a Reply